
AVG is one of our top recommended anti-virus programs for it's ease of use, scan scheduling and free edition. If all you're looking for is basic virus protection on your home computer, the free edition works well. There are however a few added benefits to getting a full licensed copy, such as the Tuneup feature.

I always suggest downloading installation files directly from the products
website, so here's the link to their page. From there click
the FREE Download button.
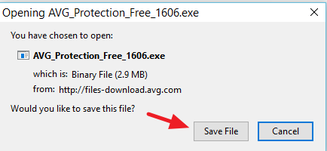
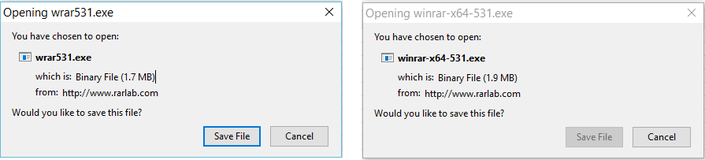
This window will open up asking you to save the installation file. Click Save File.
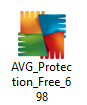
Locate the installation file in your downloads folder and double-click it to initiate the installation process.
Read through the terms and accept them to continue with the installation.
Read through the terms and accept them to continue with the installation.
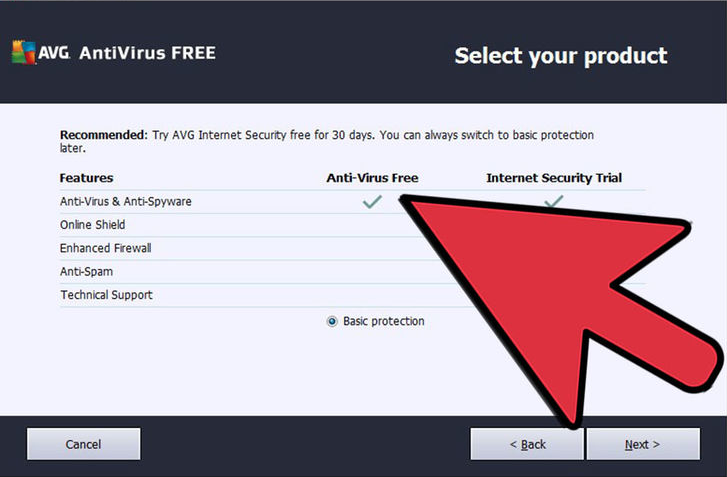
On the part of the installation that asks you to select your product make sure to select the free edition with basic protection unless you're planning on purchasing the full edition. I suggest to not install any of the trials because they will just cause constant notifications after they run out asking you to purchase the program.
(Internet Security Trail/PC TuneUp Trial)
(Internet Security Trail/PC TuneUp Trial)
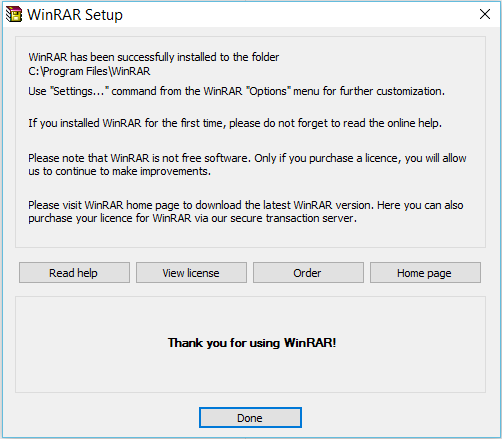
After finishing the installation you will need to restart your computer to finalize the installation.
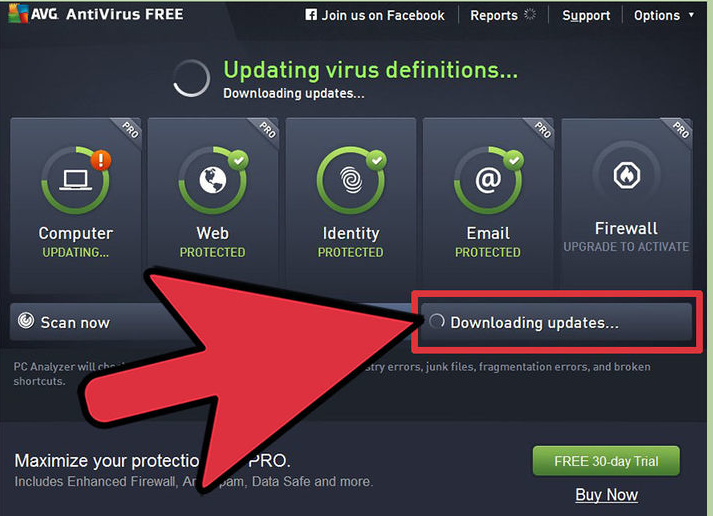
Once you have restarted the computer AVG should automatically start to download updates. This will update both the program itself and it's virus/malware/spyware/etc databases to bring you the most up-to-date protection. It should be set to update on a regular basis.
After completing the update process you should immediately run a "Whole Computer Scan". This may take a while depending upon the size of your hard drive and the amount of data you have stored.
After completing the update process you should immediately run a "Whole Computer Scan". This may take a while depending upon the size of your hard drive and the amount of data you have stored.
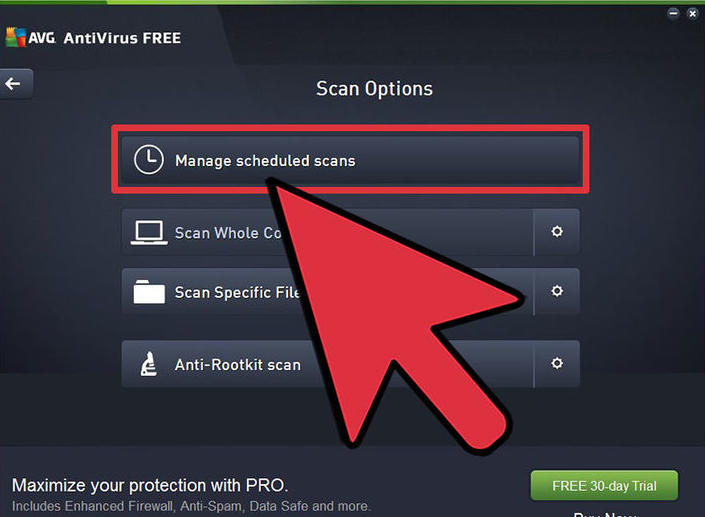
Once your scan has completed you need to set up a scheduled scan. This is pretty straight forward. Open Scan Options, select Manage Scheduled Scans, and enable the Scheduled Scan feature.
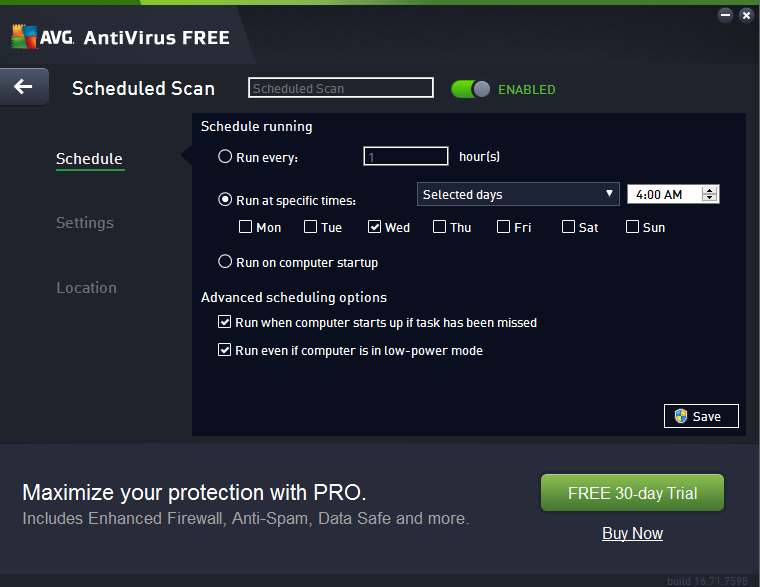
It's good practice to run a scan once a week on your computer. You should set it for a time that the computer will be on, but isn't going to be used. While running a scan the program uses a lot of resources, if you're trying to run other programs while it's running a scan, your computer is going to be sluggish. Just pick a day and time that works around your schedule. I suggest that you check the box next to Run when computer starts up if task has been missed. This way if for whatever reason you missed a scan, it will run one the next time the computer is turned on. Once you've picked your day(s) and time(s) just click Save and you're done.


 RSS Feed
